Hello!
How are you? Happy Friday to you all, and welcome to another week of pastry at home.
I’m pretty excited about this week, because we are finally covering the absolute essential that is pastry. People get pretty nervous around pastry, and justifiably - if you don’t have the right guidance or recipe, it’s easy to end up with a sad, shrunken pastry case that feels a little too much like glue in your mouth. But, this week is all about giving you the confidence to make your own beautiful pastry cases with gay abandon.
I’ve always had an obsession with getting the perfect tart case. This means I have made a lot of them in my relatively short time as a pastry chef. I have tested recipes from all my favourite books, with and without baking beans and with different methods of lining cases. I have taste tested endless numbers of them too, much to the joy (and horror) of my boyfriend, and trialled various thicknesses of pastry. Put simply, I LOVE pastry, and I am going to share this love and obsession with you so you, too, can get the perfect tart.
The joy of making pastry is that you need no real special equipment. No mixer, just a bowl, rolling pin, and trusty tart tin or ring. I’ve given you the method for making by this pastry by hand - a mixer is great, but not everyone has access to one, and it’s important to get a proper feel for your pastry. During first term of pastry school we made everything by hand, and I mean everything. We hand-whisked meringues, and even checked the stages of cooking sugar by dipping our hand into the hot pan (it’s not dangerous if you know how, but please don’t try this yourself…). Doing things by hand helps you gain intuition for cooking, and although it may take a little longer, this is really important when learning to master things.
Having said this, if you are already a dab hand with pastry, and simply want to try out the recipe, I have added in a couple of notes for making this in a mixer. I’ve also included a few tips on equipment I like to use, should you wish you go shopping!
#6 - Sweet Pastry
An intro to pastry
Some science
A recipe
An Intro to Pastry
I like to think of there being about four different types of pastry:
Shortcrust (pâte brisée) - used for savoury bakes such as tarts and quiches
Sweet (pâte sucrée) - used for sweet bakes such as tarts
Flaky pastry - used for pies and galettes
Puff pastry - used for pies, tarts, and pâtisserie such as mille feuille
Within these types, there are many variations and different techniques depending on how technical you want to get. But a basic recipe for each that works for you is all you really need. Today we are looking at sweet pastry, but we’ll cover the other three at different points throughout this newsletter.
Some science
As with anything in the world of food, it’s always good to understand your ingredients and the process in order to make something successfully. Blindly following a recipe can work, but actually understanding what you are doing will help prevent kitchen disasters and enable you to make things consistently. So here’s a little about the main ingredients we are using today:
Flour - the basic bulk of your pastry. Flour contains two proteins: gliadin and glutenin. When we add water and work the dough, this provides gluten which is the bond that gives bread its strength. Obviously, we don’t want pastry to be tough in the same way, so it’s important not to work pastry dough too much if we want a nice crumbly/flaky end result.
Butter - the fat we need to make pastry. By using fat, we are coating the flour particles and preventing them from bonding directly with the water. This prevents the production of gluten as mentioned above. Butter also contains around 15% water, meaning that when we bake pastry, this water produces steam which in turn makes little air pockets. This is what makes lovely crumbly and flaky pastry, and why it’s so important to keep your butter cold during the process of making it.
A note about margarine. Margarine has a much higher melting point than butter. This means it is often a little easier to work with, which is why some people like it for baking. However, having a high melting point means it stays solid at room temperature, and so doesn’t melt in the mouth in the same way as butter. That’s why a pastry made with butter is noticeably more delicious than one made with margarine.
Egg - this is how we bind the pastry. Some recipes will simply call for water, whilst others will use whole egg or even just egg yolk. As we covered in #3 of Pastry At Home, the yolks in eggs contain fat, which will add richness to your pastry. This part is personal choice and simply about finding a recipe you like.
Salt - for flavour! We always need balance, and a pinch of salt is important in most things in pastry.
Sugar - for flavour, but also for colour and texture. Adding sugar helps make a lovely crisp pastry, as it also interferes with those gluten bonds that we try to avoid creating. It also speeds up something called the Maillard reaction, which is essentially where sugars cook and brown, creating a lovely golden brown colour.
A recipe
I have done many, many tests to get my perfect pastry, and from all of these trials came this recipe. It is now my go-to for a simple sweet pastry as it is so reliable. If you want to add a little extra flavour, a little citrus zest is a lovely addition.
Unfortunately there’s no way to speed the pastry making process up. It takes time, and the resting periods are really important. Think of your pastry as having muscle memory - if you try to roll it before resting it properly, it’ll shrink back to its original shape. Not only will you spend forever rolling out your pastry, it will also shrink away from the tin in the oven, giving you an uneven tart case after all that hard work.
However, you can always make your pastry in advance - it’ll keep nicely in the fridge for a few days, either unrolled, rolled, or once lined in your tin. Just be sure to store it airtight to avoid it drying out. You can also freeze pastry unrolled, rolled, lined, or after baking, although I find I never have enough space for this!
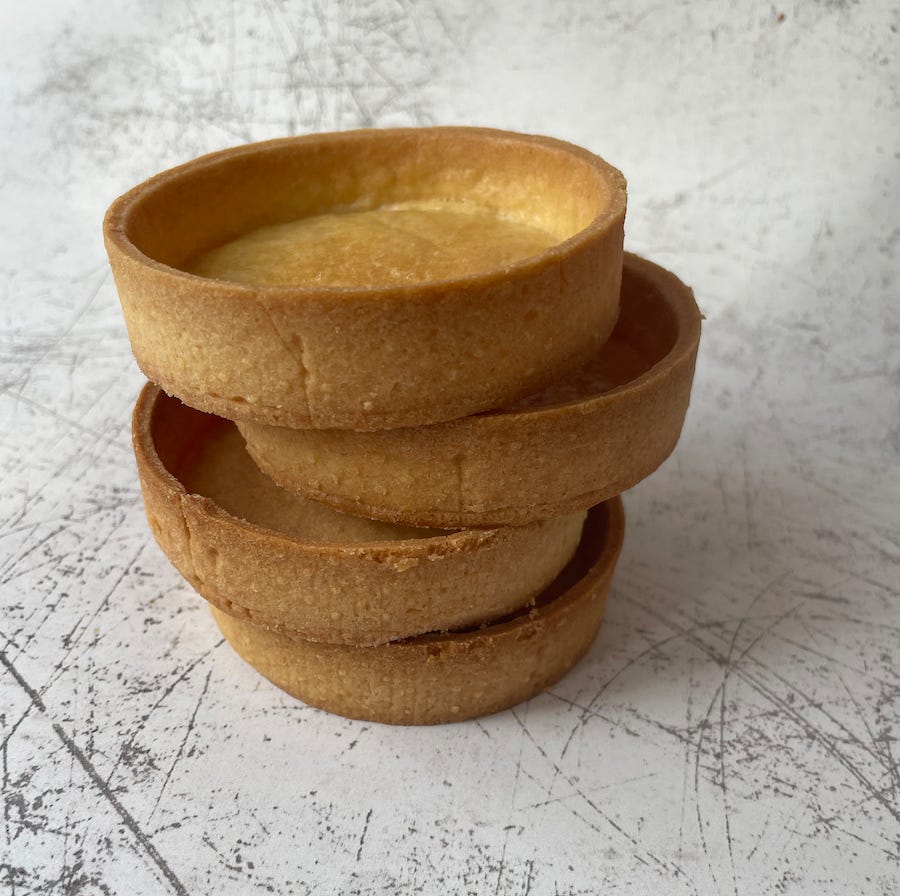
How many tarts this recipe makes really depends on your size of tin and how thinly you roll it. As a guide, I tend to find it makes two 8-inch tart cases using a plain round tart ring, or 6x 8cm tartlets. If you don’t use all of it, it freezes very well - just be sure to put it in an airtight container or wrap tightly so it doesn’t dry out.
Ingredients
240g plain flour
100g icing sugar
Generous pinch of salt
100g unsalted butter, very cold, cubed
40g egg, whisked to combine - save the remainder, we’ll use it later!
Method
Begin by combining all the dry ingredients in a large bowl. I like to use a metal bowl, but whatever mixing bowl you have to hand.
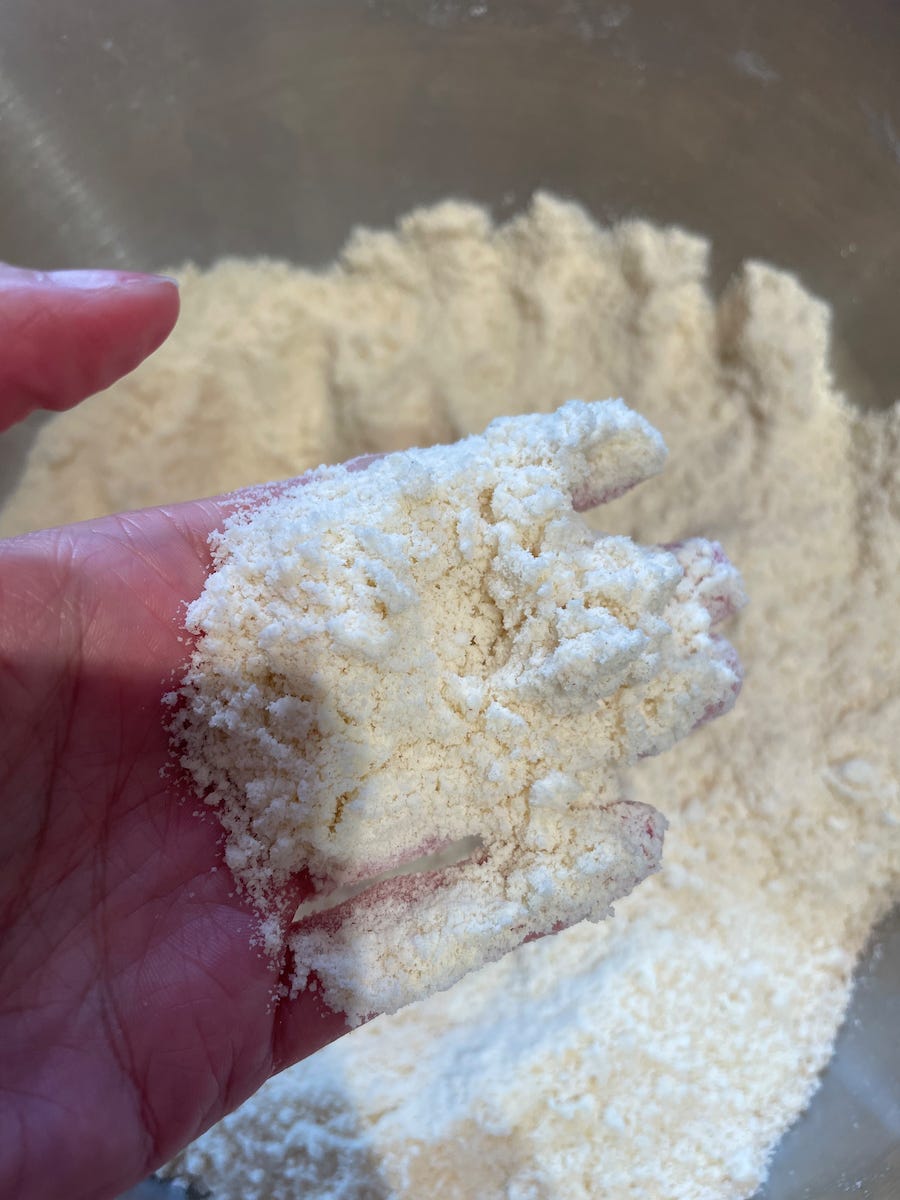
Add the butter to the dries and begin working in with your fingertips. You should be rubbing the butter into the dries to create a breadcrumb texture, although I find it more helpful to compare it to a bag of ground almonds. If the butter begins to feel as if it is melting at any point, put the bowl back in the fridge for 15 minutes or so to solidify, then keep going. This part takes a bit of time and patience, but is a key step to perfect pastry! If using a mixer, use the paddle attachment for this step.
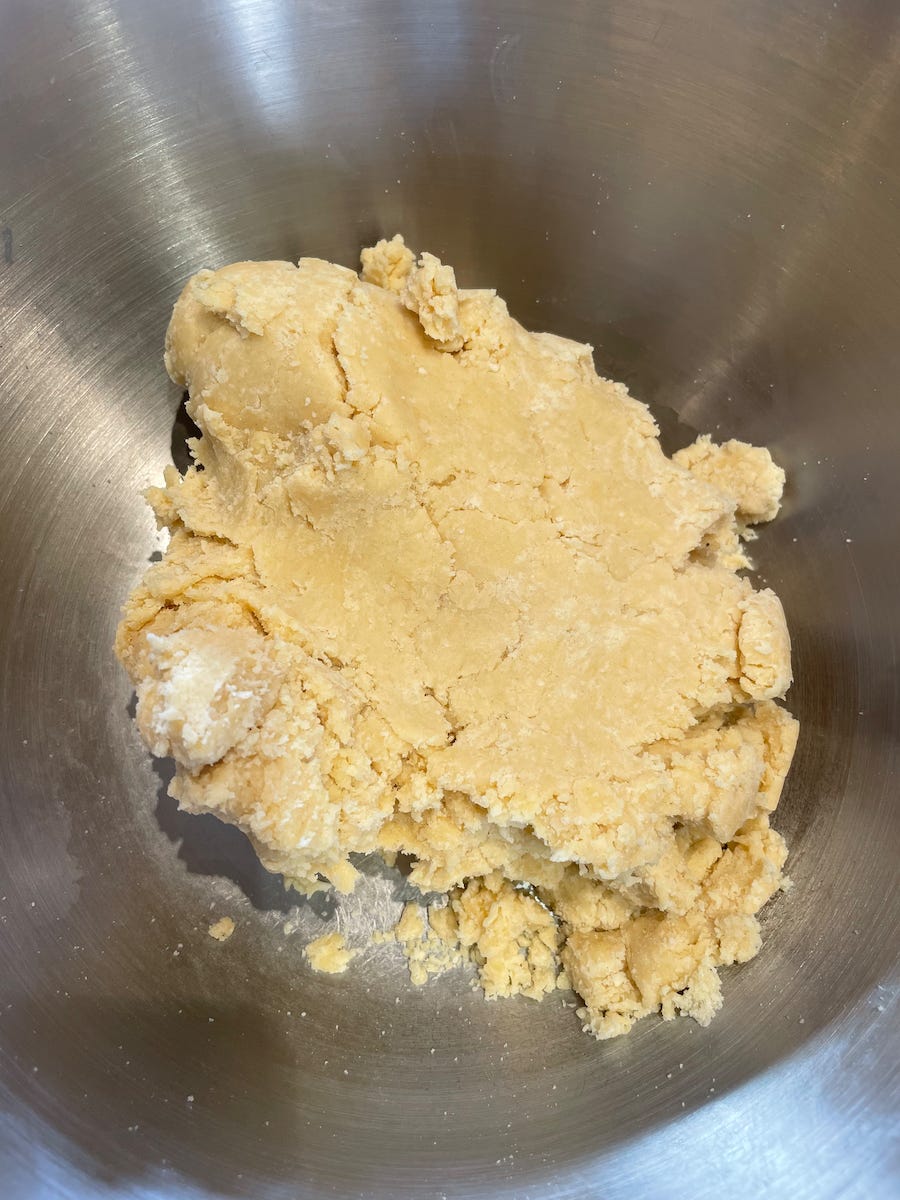
Once the butter has been combined, add in the egg. I like to use a fork to bring the pastry together at this point. It will look a little dry initially, but keep mixing and the pastry will come together. If using a mixer, combine on a very low speed with the paddle attachment.
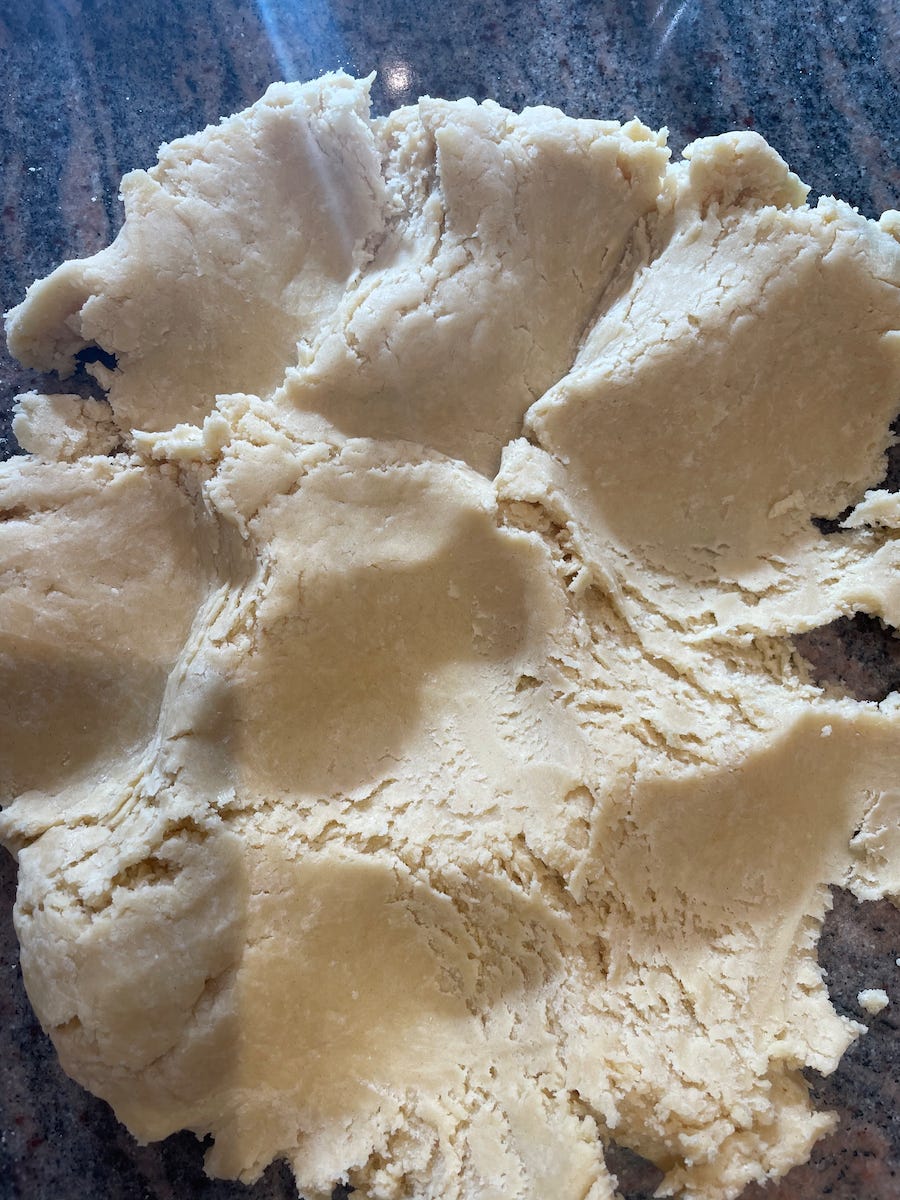
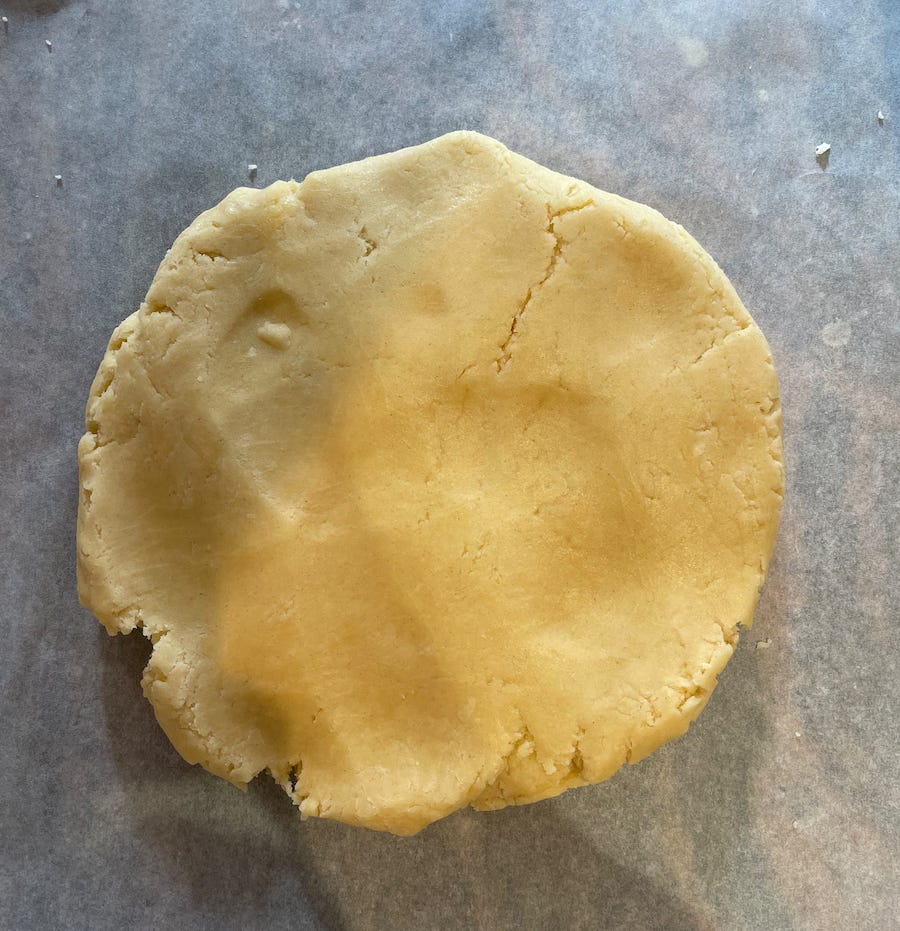
Tip the pastry out onto the surface, then use the heel of your hand to squish it away from you. There’s nothing technical about this part - you are just ensuring you have no lumps of butter or flour. Just be sure not to knead the pastry, a simple squish will do! Once you have squished all the pastry, bring together into a ball and press down to make a flat disc, then wrap with a piece of baking parchment and chill for one hour.
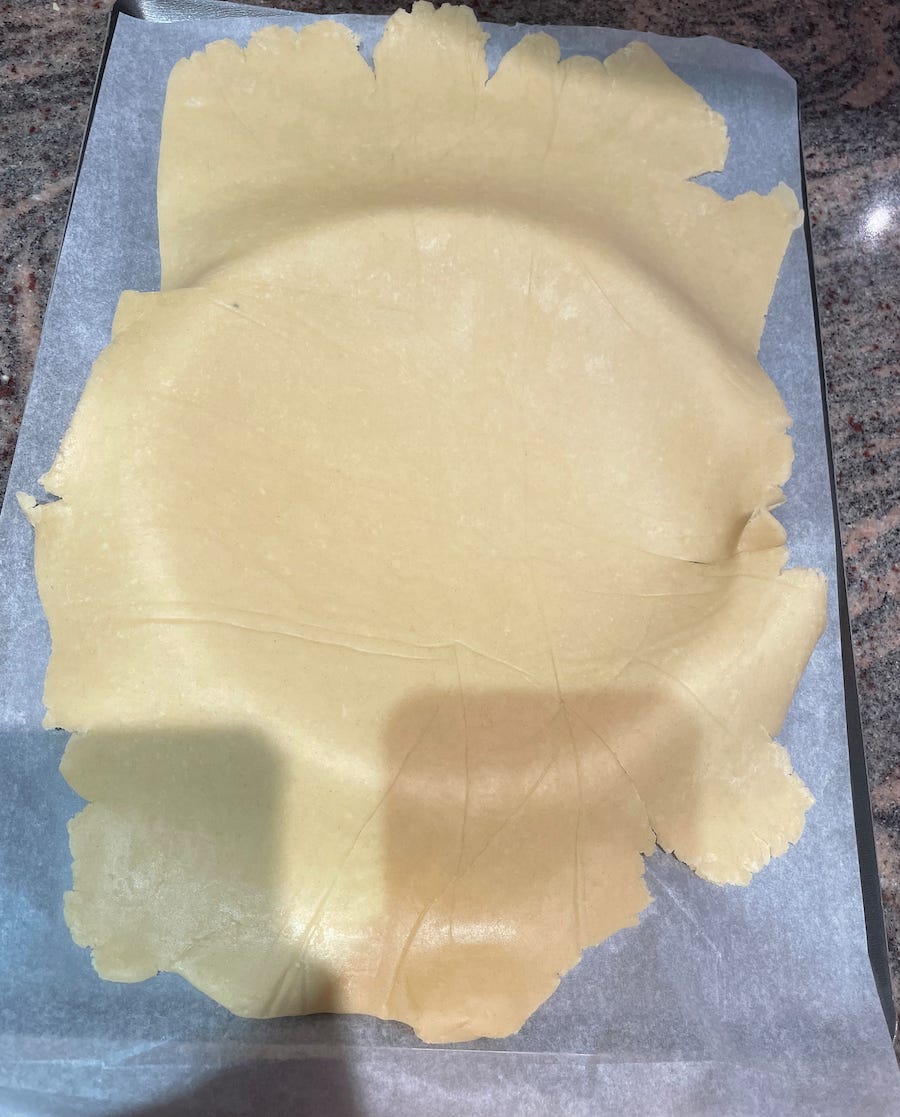
Once chilled, roll between two sheets of baking paper to around 3mm thick. Rolling between baking paper not only keeps things nice and tidy, it also means you don’t need to add any additional flour to your pastry. Once rolled, chill in the fridge (flat!) for a minimum of 20 minutes.
As a side note, if you find it tricky to get the thickness right on your pastry, I can highly recommend this rolling pin. It has little bands to place on each end of your rolling pin, and I’ve found it makes my life much easier.
Lining your tart
There are two main ways to line a tart tin:
Whole pastry sheet
In pieces
There is also a cheat third way. Freeze your pastry as a block, then grate into the case and use your fingers to press it into all the corners. I have tried this and personally am not a fan - I find it takes a long time and is much more difficult to get an evenly-lined tart case, but if you are having real trouble with the methods above, perhaps give it a go.
Method 1: Whole Pastry Sheet
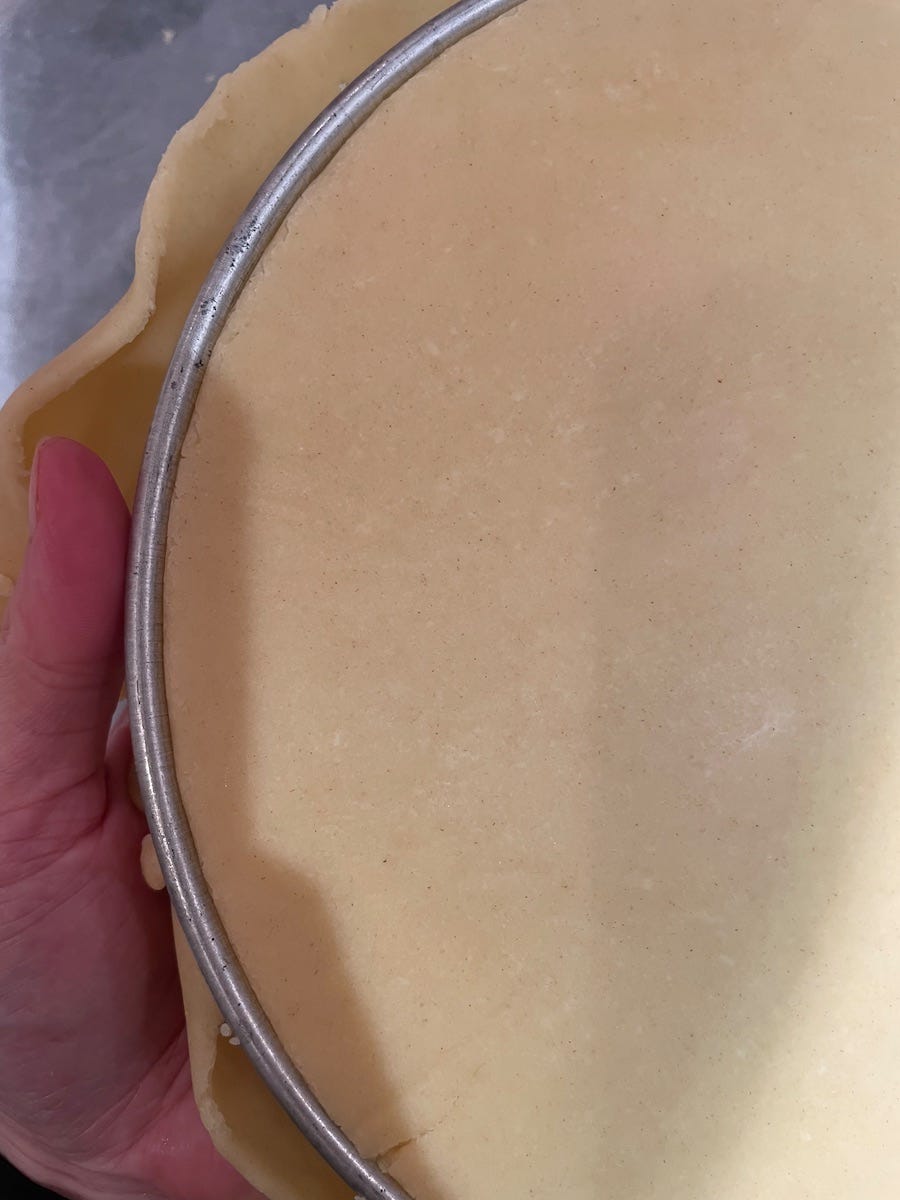
This method works for larger tart tins, rings and fluted tart tins. In the images below I am using this ring.
Place your tart tin or ring on a baking tray lined with parchment paper, and lightly grease the tin/ring with a knob of butter.
Remove the pastry from the fridge. Peel off one side of the baking paper, turn over the paper and place back on. Flip the pastry over, peel off the baking paper and discard this sheet.
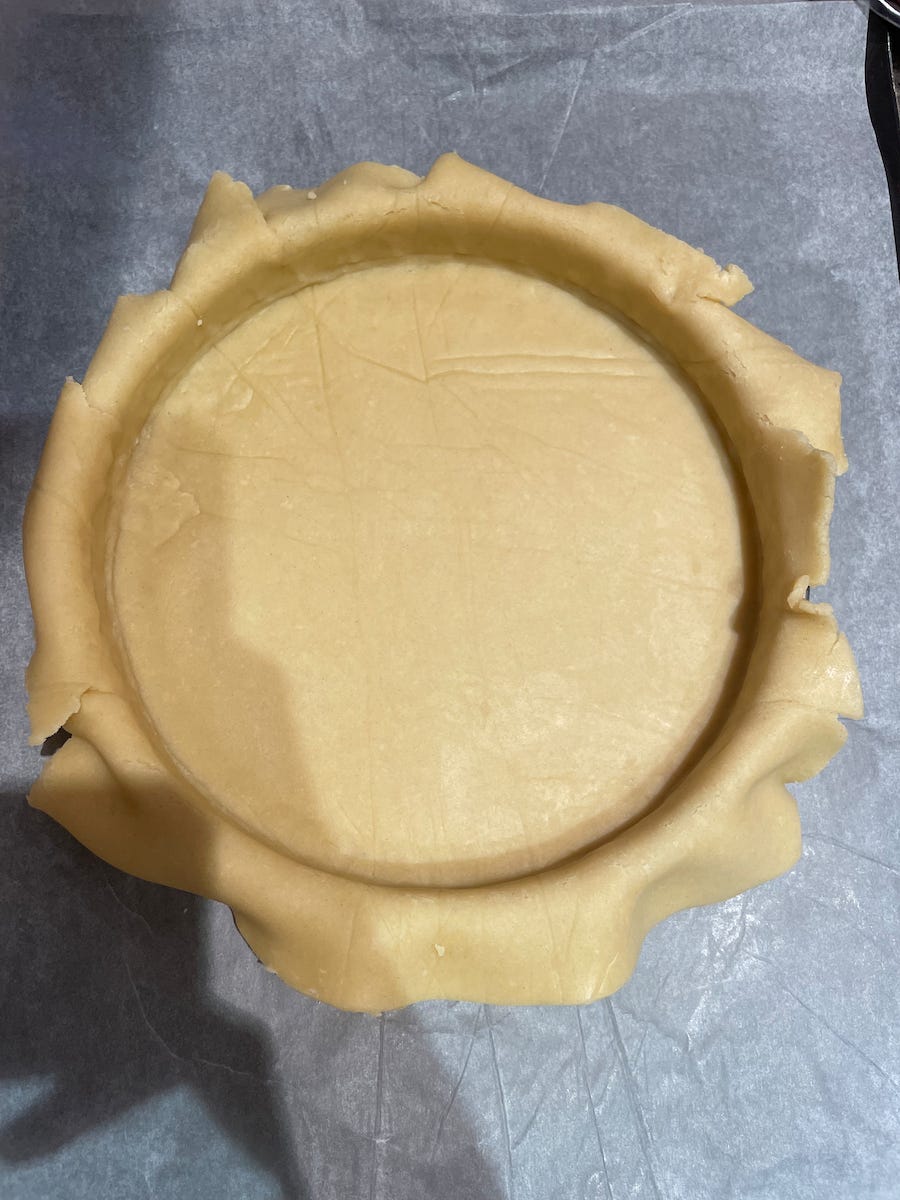
Using the underneath sheet of baking paper, lift the pastry and flip over onto the tin so it is sitting on top.
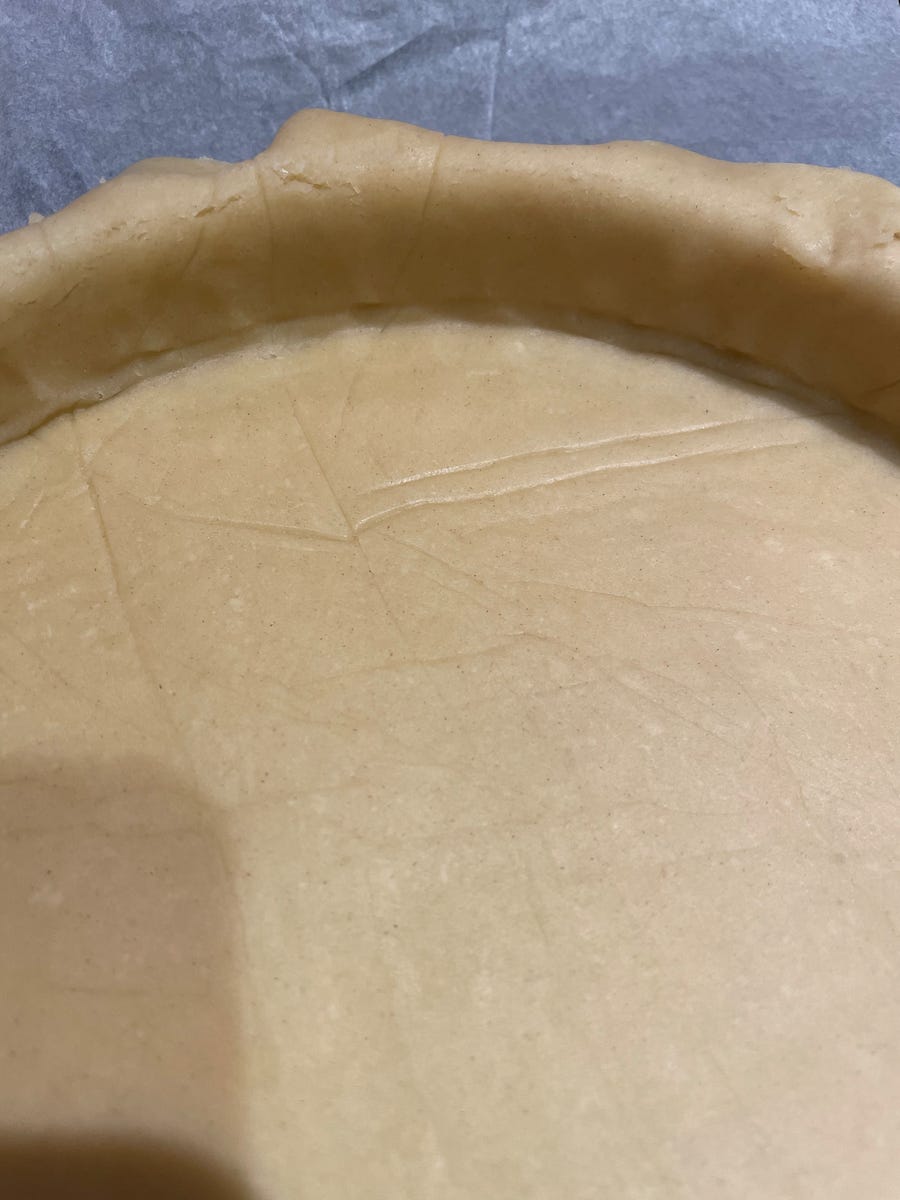
Gently lift one side of the pastry so you can see the underside, then fold right into the corner of the tin using just your fingertips. Be careful not to force the pastry in, be gentle and ease it into the corners. Work your way around the ring until the pastry is sitting nicely in the tin.
If the pastry is cracking when you do this, it is too cold. Allow it to sit for a minute or two before trying again - it won’t take long to soften. On the other hand, if your pastry is quickly becoming warm and sticky, put it back in the fridge to chill down. Working with sticky pastry is more or less impossible, so allow it to chill so you can be chill too.
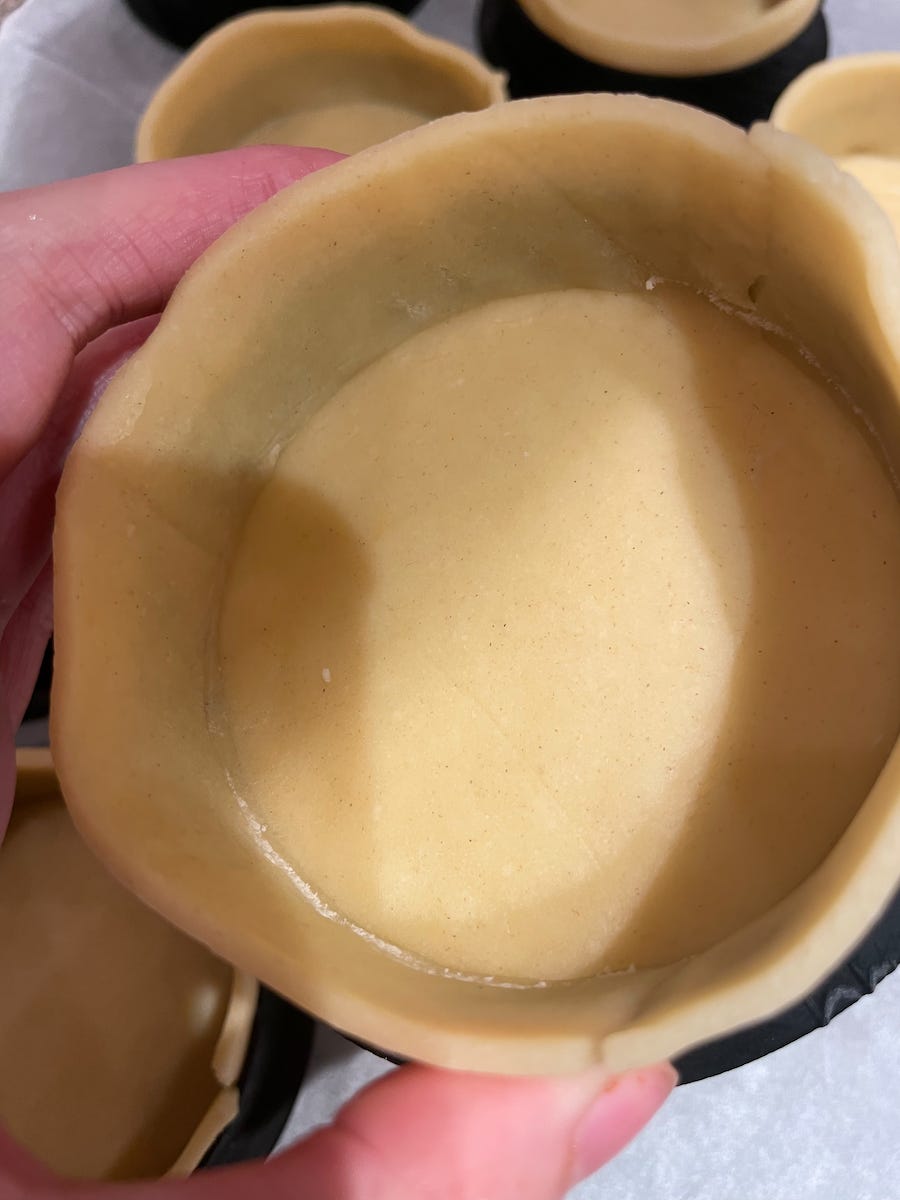
Chill the pastry again for a minimum of 20 minutes. Then press your thumb around the corners of the pastry to ensure there are no gaps. Ideally, you want to see a little crease between the base and the sides where your pastry is nicely tucked into the corners. Don’t worry about the excess pastry.
Method Two: In Pieces
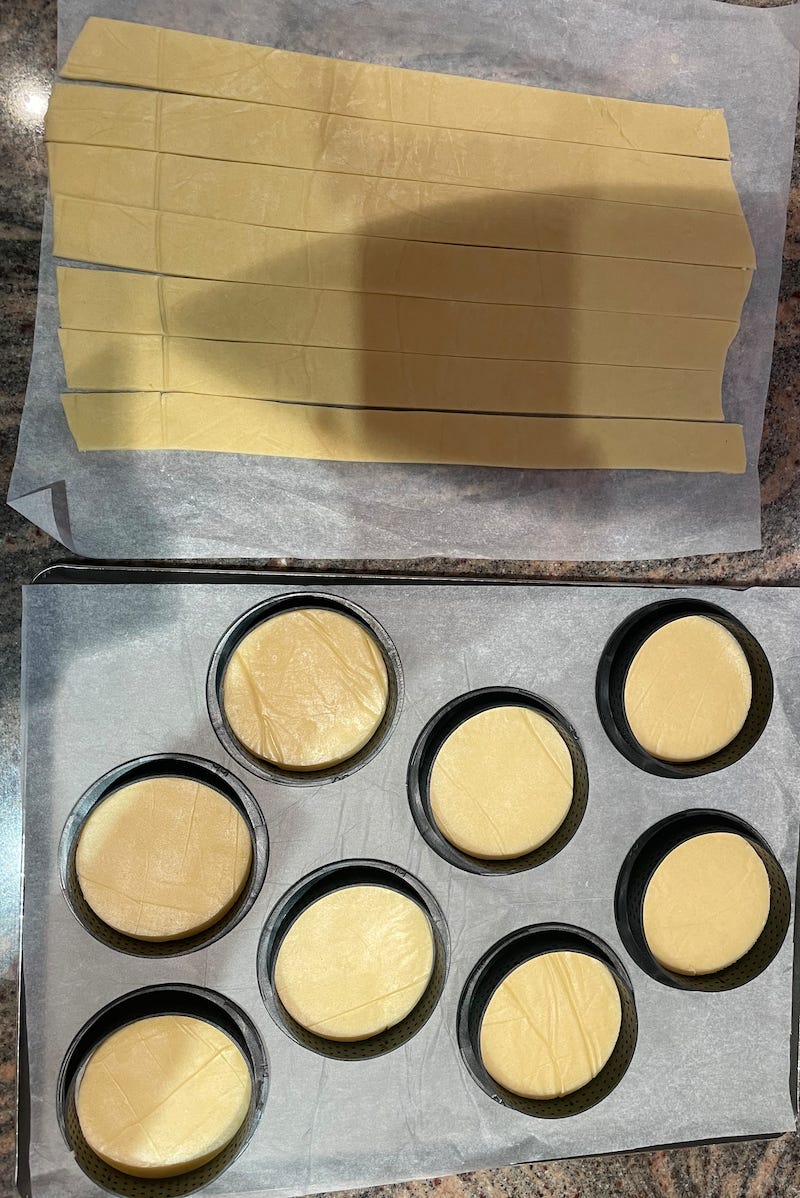
This method works for tartlets and tart rings. I wouldn’t recommend using this for a fluted pastry case. I use these tartlet rings.
Place your tart ring(s) on a lined baking tray, and grease lightly with a knob of butter.
Remove the pastry from the fridge. Peel off one side of the baking paper, turn over the paper and place back on. Flip the pastry over, peel off the baking paper and discard this sheet.
Place your tart ring(s) onto the pastry and use a knife to cut around the inside of the ring(s). These circles of pastry will be the base for your tarts. Place these in the fridge whilst you continue.
With the remaining pastry, cut strips a little larger than the width and length of your tart ring(s). It helps to have a ruler here - my ruler is slightly larger in width than my tartlet rings, and I know they are around 25cm in diameter, so I use the ruler to cut strips of 25cm. I tend to find the pastry starts to warm up at this point, so put it back in the fridge to chill for 20 minutes before lining.
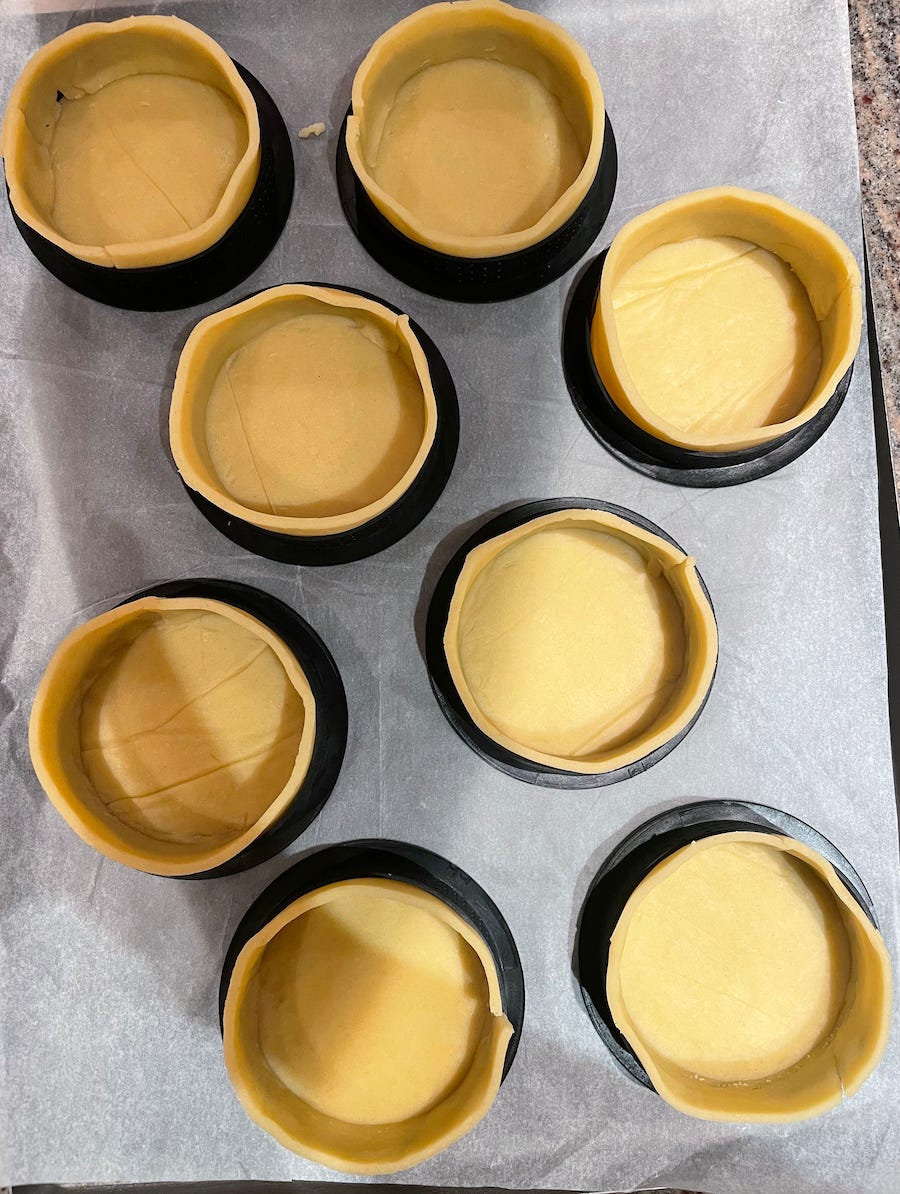
To line, place the circles of pastry into the tart ring for your base. Gently lift one of your cut strips and use it to line the side of the ring. The bottom of this strip should be touching the base. Use a finger to gently press the two together to ensure they are joined. Don’t worry about the excess pastry.
Repeat for your remaining rings, then chill in the fridge whilst your oven preheats.
Blind baking
Blind baking is a key step for tart making. It effectively seals the pastry, ensuring we get no soggy bottoms, and that your tart bakes all the way through. Until recently I had always used baking beans, but I found it produced a lot of waste, and unless I used clingfilm for the beans, I always got rough edges on what could have been beautiful tart cases.
So, today I share with you something revolutionary. You do not need to use baking beans. This recipe is really stable, and provided you haven’t stretched and forced the pastry too much when lining, it should make a perfect neat tart.
However, I say this with a couple of caveats:
If this is your first time making pastry, I’d recommend using beans just whilst you get used to the method.
Everyone’s ovens are different. The fan on our oven is fairly strong, which can sometimes cause a few droopy sides and sadly there’s not much you can do about this. If you have an option to use your oven without a fan, I’d recommend doing so as I always have better results with this. But if you aren’t sure, simply do a test. Bake one tart without baking beans and see how they turn out - if you get horrible droopy sides, bake the rest with beans.
To blind bake your tart(lets):
Preheat the oven to 160°C fan/180°C/350°F/Gas mark 4.
Trim your pastry cases - use a small knife to go around the edge of the tart. I like to do this right before baking to ensure the pastry is properly chilled when trimming.
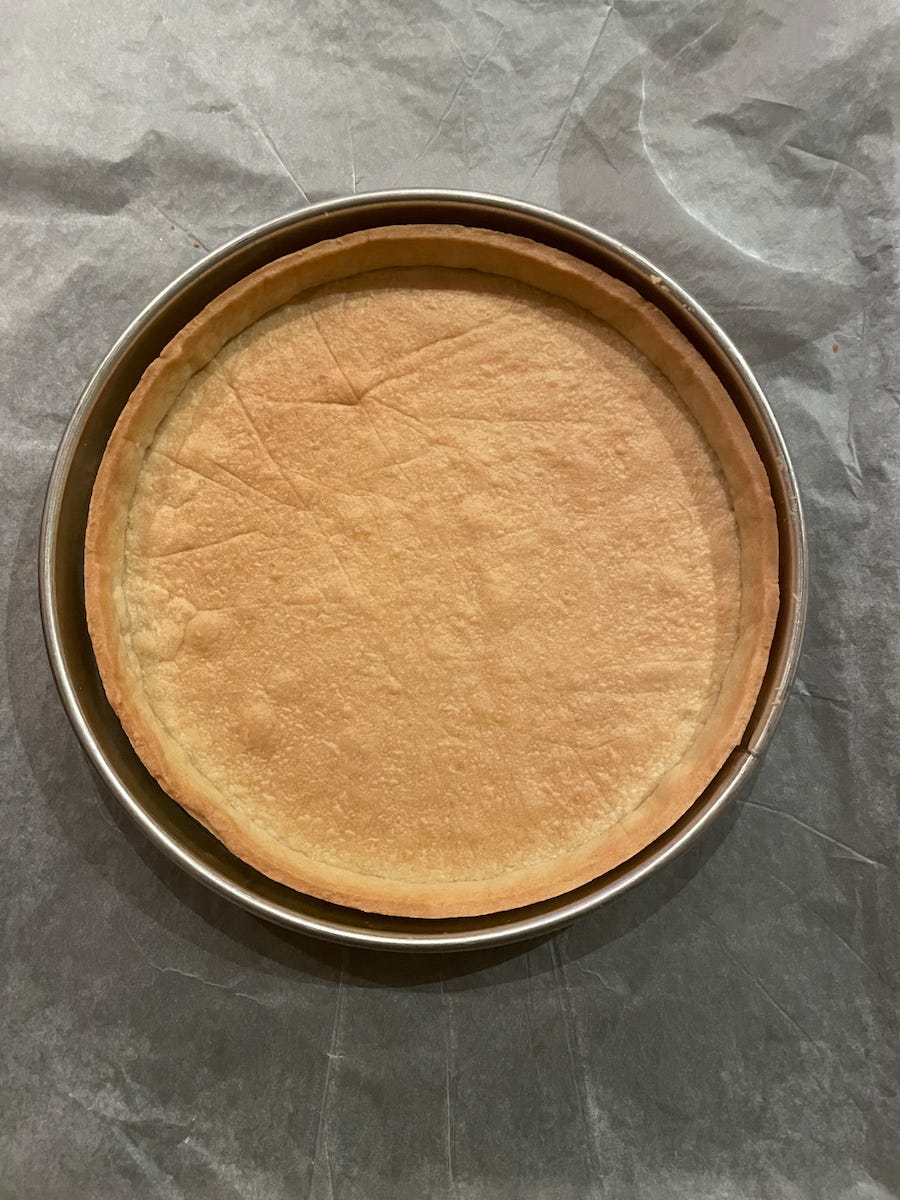
Bake for 15-20 minutes until the edges are just beginning to turn golden. At this point, remove from the oven and brush with the remaining egg that you saved earlier.
Put back in the oven for 2-3 minutes, then remove and allow to cool. Brushing with egg helps to seal the tart case, meaning it will last much longer before going soggy.
For a beautiful fruit tart, I’d recommend filling with some glossy crème pat from newsletter #1 or #2, and topping with seasonal fruit.
I hope you’ve enjoyed this week’s Pastry At Home, and that you’ve had success with your pastry. But don’t be disheartened if not - it took me 9 months of pastry school and an additional year to get mine the way I want them, so time and practice are your friends here! And, as always, my email and DMs are open to any questions you have.
Chat next week.
Annabelle x


